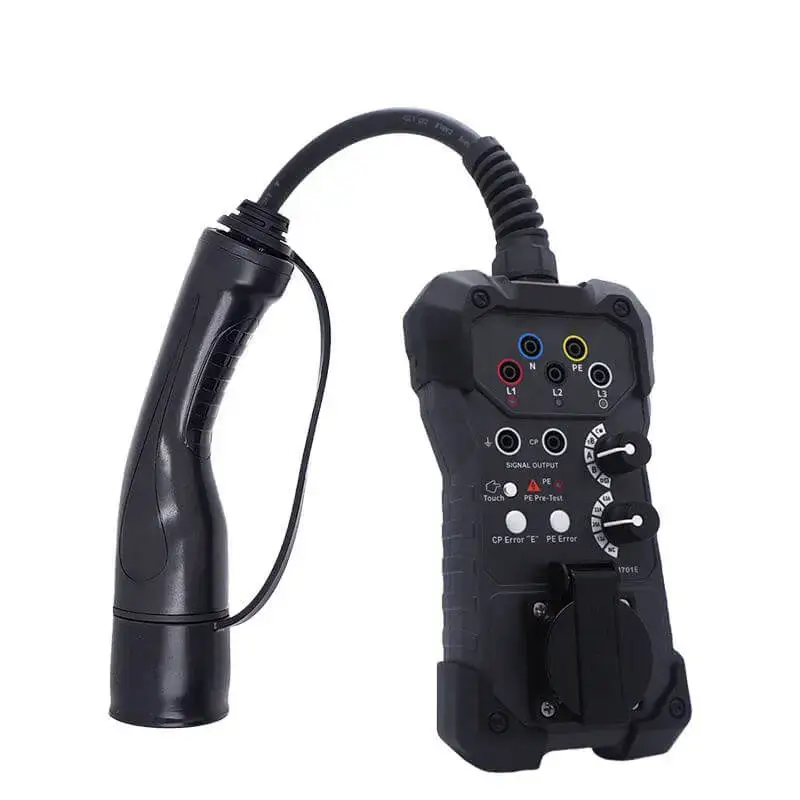
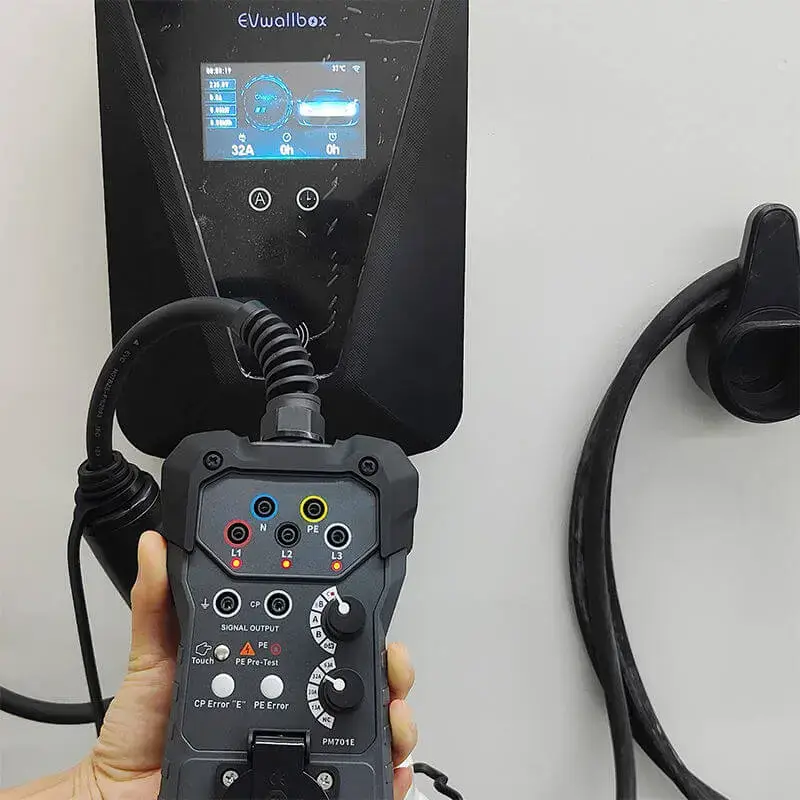
In the rapidly expanding world of electric vehicle supply equipment (EVSE), your diagnostic tools are more than just gear—they are the backbone of your professional reputation. An EV Charger Testing Device represents a significant capital investment. However, its value isn’t measured by its purchase price, but by its ongoing accuracy. In a field where a 1% deviation in a Control Pilot (CP) signal can mean the difference between a functional charger and a hazardous electrical failure, “good enough” maintenance is never enough.
Neglecting your EV Charger Testing Device doesn’t just lead to broken screens or frayed wires; it leads to “measurement drift.” When your device loses its calibration or suffers from internal degradation, you risk signing off on faulty installations, potentially leading to legal liabilities or, worse, safety incidents for the end-user.
Daily Operational Care for Your EV Charger Testing Device
The lifespan of a high-precision EV Charger Testing Device is often determined by the small habits formed during the first and last five minutes of a job site visit.
Pre-Site Inspection
Before connecting your device to a live charging station, perform a “physical audit.” Check the housing for hairline cracks. In high-voltage environments, a cracked casing is an invitation for moisture or ionized dust to create a bridge for an arc flash. Verify that the buttons provide tactile feedback; “mushy” buttons often indicate internal dust ingress or membrane fatigue that could lead to intermittent failures during a critical diagnostic sequence.
Connector Hygiene and Pin Integrity
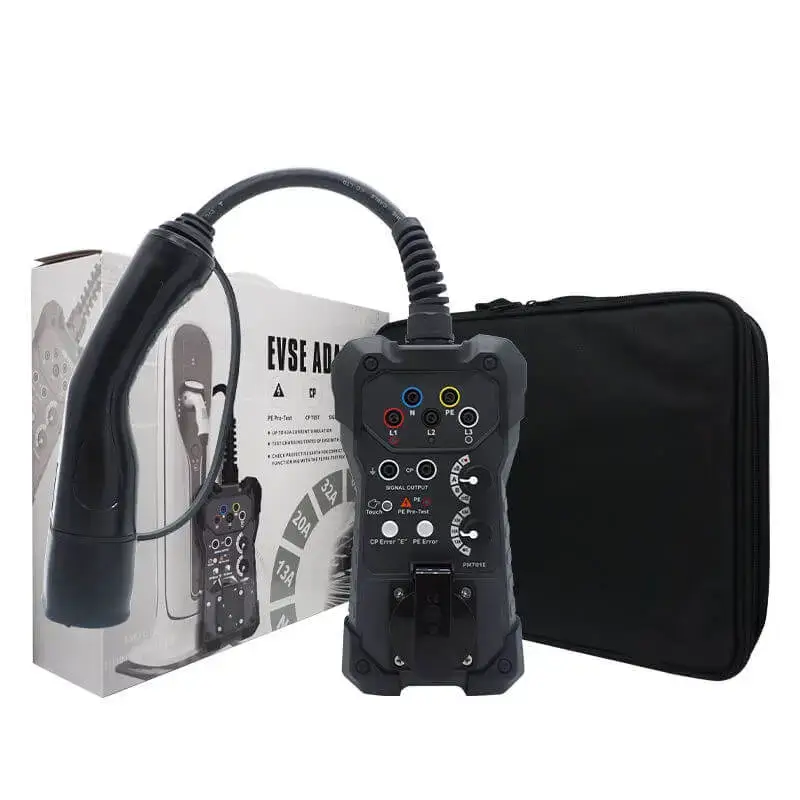
The Type 1 or Type 2 inlet on your EV Charger Testing Device is its most vulnerable point. These pins endure hundreds of mating cycles. Inspect the copper alloy contacts for signs of pitting or carbon tracking. If you notice a dark, burnt residue on the pins, it indicates high contact resistance—likely caused by a loose connection at a previous charging station. Clean these contacts using specialized electrical contact cleaner and a non-abrasive swab. Never use a metal file to clean pins, as removing the silver or nickel plating will accelerate oxidation and ruin the accuracy of your resistance tests.
Environmental Shielding: Protecting Your EV Charger Testing Device from the Elements
Most technicians operate out of a service van, which is essentially a mobile oven in the summer and a refrigerator in the winter. These thermal cycles are the enemy of sensitive electronics.
Thermal Management
Internal components of an EV Charger Testing Device, particularly the capacitors and the LCD screen, are sensitive to extreme temperatures. Storing your device in a van where temperatures can exceed 60°C (140°F) can cause the liquid crystals in the display to bleed or the battery chemistry to destabilize. Conversely, bringing a freezing device into a warm, humid garage causes immediate internal condensation.
Pro Tip: Always allow your EV Charger Testing Device to acclimate to the ambient temperature for 15–20 minutes before powering it on if it has been stored in extreme conditions.
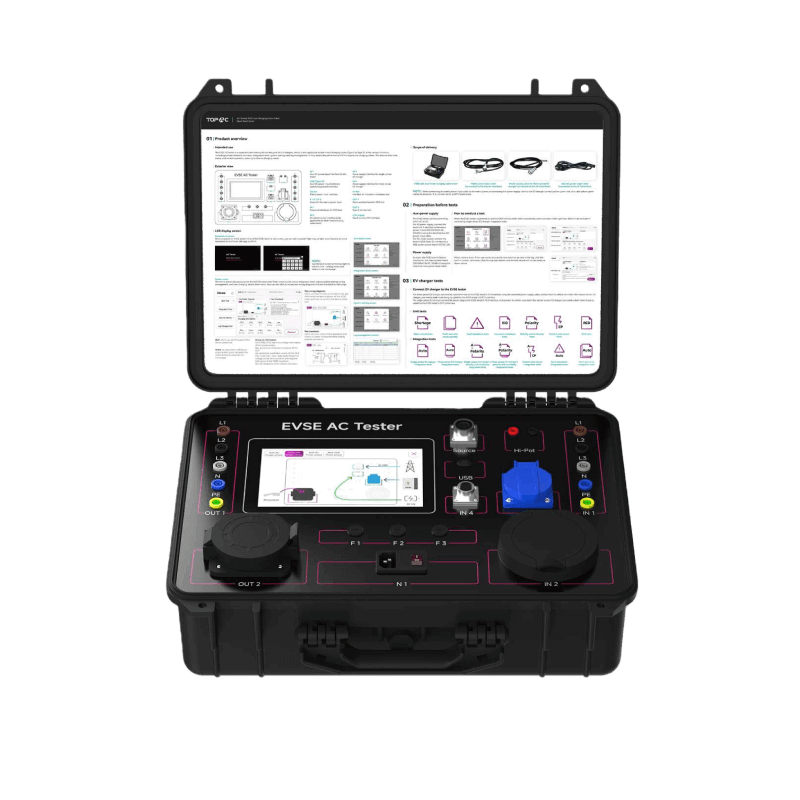
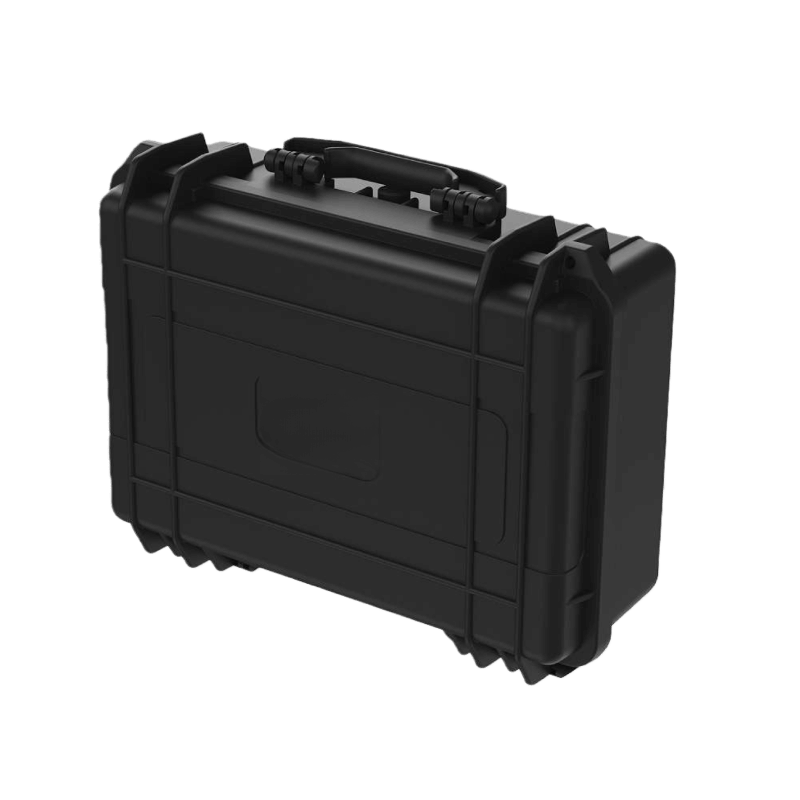
The Role of Ruggedized Cases
While many testers are marketed as “rugged,” they are still precision instruments. A soft-shell bag is rarely enough. Invest in a hard-shell, IP67-rated carrying case with custom foam inserts. This doesn’t just protect against drops; it provides a pressurized seal against fine dust and salt air, which are notorious for corroding the internal PCB (Printed Circuit Board) of an EV Charger Testing Device over time.

Battery Management and Power Integrity for Your EV Charger Testing Device
A tester is only as reliable as its power source. Whether your EV Charger Testing Device utilizes swappable alkaline batteries or an integrated Lithium-ion pack, power management is a critical maintenance pillar.
Preventing Acid Leaks
If your device uses AA or 9V alkaline batteries and you don’t plan on using it for more than two weeks, remove them. Battery leakage is one of the leading causes of “dead” handheld testers. The potassium hydroxide that leaks from a discharged battery is highly corrosive and will eat through the battery terminals and onto the logic board within days.
Lithium-ion Longevity
For devices with integrated rechargeable batteries, avoid the “100% to 0%” cycle. Lithium-ion batteries thrive when kept between 20% and 80% charge. If you are storing your EV Charger Testing Device during a slow season, charge it to roughly 50% and power it down completely. Deep discharge—where the battery voltage drops below a certain threshold—can permanently “brick” the battery, requiring an expensive factory replacement.

Calibration: The Heart of EV Charger Testing Device Accuracy
Calibration is not a “suggestion”; it is a requirement for professional certification. Over time, the electronic components inside your EV Charger Testing Device—such as resistors and oscillators—undergo physical aging. This causes the measured values to “drift” away from the true value.
Understanding Signal Drift
In EVSE testing, the device must measure the Pulse Width Modulation (PWM) signal. If your device’s internal clock drifts by even a few microseconds, it may incorrectly report the maximum allowed charging current. This could lead to a scenario where you approve a station that actually overloads the local grid.
The 12-Month Rule
The industry standard for an EV Charger Testing Device is an annual calibration. This should be performed by a laboratory that is ISO/IEC 17025 accredited. They will compare your device against a “known truth” (a master calibrator with traceability to national standards).
Maintenance Note: If your device is dropped from a height of more than one meter, it should be sent for recalibration immediately, even if the casing looks fine. The mechanical shock can shift the alignment of internal components or crack ceramic resonators.
Cleaning Protocol: Do’s and Don’ts for Your EV Charger Testing Device
Cleaning a professional EV Charging Station Tester is about more than aesthetics; it’s about maintaining the insulation integrity of the tool.
The “Do” List: Use a microfiber cloth slightly dampened with 70% isopropyl alcohol for the exterior casing. This removes grease and grime without leaving a conductive residue. For the screen, use a dedicated lens cleaner to avoid scratching the anti-glare coating.
The “No-Go” List: Never use WD-40, thinners, or petroleum-based solvents. These chemicals can react with the plastic polymers of the housing, making them brittle or “cloudy.” More importantly, certain cleaners can degrade the rubber seals that provide the device’s IP (Ingress Protection) rating, making it susceptible to water damage in the future.
Advanced Cable Care for EV Charger Testing Device Accessories
Often, the fault doesn’t lie within the EV Charger Testing Device itself, but in the leads and adapters connected to it.
Continuity and Resistance Testing
Test leads are subject to constant flexing. Over time, the internal copper strands begin to break, increasing the lead’s resistance. This will give you false “High Impedance” readings during a Loop Test. Periodically perform a “nulling” or “zeroing” procedure on your tester to check the resistance of your leads. If the resistance fluctuates when you wiggle the cable, it’s time to replace the lead.
Proper Storage Coil
Never wrap your cables tightly around the EV Charger Testing Device. This creates “memory” in the insulation and puts undue stress on the solder joints at the connector ends. Use the “over-under” coiling method (the same used by audio engineers) to ensure the cable lies flat and remains stress-free.
Troubleshooting Common Hardware Issues in Your EV Charger Testing Device
Even with perfect maintenance, hardware issues can arise. Knowing how to diagnose them prevents unnecessary downtime.
Intermittent Connection: Usually caused by oxidized pins in the Type 2 adapter. A quick clean with contact cleaner often resolves this.
Software Freezes: Like any computer, an Dispositivo per il test dei caricabatterie EV can hang. Ensure you know the “Hard Reset” key combination (usually holding the power button for 10 seconds).
Inaccurate PWM Readings: If the device is struggling to read the duty cycle, check for electromagnetic interference (EMI). High-power transformers or nearby cellular towers can sometimes interfere with unshielded test leads.
Summary of Maintenance Frequency
To make it easy for your team to stay compliant, follow this maintenance schedule for your EV Charger Testing Device:
| Compito | Frequenza | Scopo |
|---|---|---|
| Ispezione visiva | Every Use | Safety and structural integrity |
| Contact Cleaning | Settimanale | Prevent high resistance/arcing |
| Battery Check | Mensile | Prevent leaks and deep discharge |
| Firmware Updates | Quarterly | Compatibility with new EV models |
| Professional Calibration | Annualmente | Legal compliance and accuracy |
Conclusion: Professionalism Through Preparation
The transition to electric transport is a marathon, not a sprint. To stay competitive, your tools must be as reliable on day 1,000 as they were on day one. By implementing a rigorous maintenance routine for your EV Charger Testing Device, you are doing more than just saving money on replacement costs. You are ensuring that every charging station you certify is truly safe for the public.
A well-maintained EV Charger Testing Device is the mark of a technician who values precision over speed. In an industry where electricity meets mobility, that precision is the ultimate safety net.
Ulteriori informazioni:
FAQ
Q: Can I perform calibration myself using a known-good charging station?
A: No. A charging station is not a calibration source. Official calibration of an EV Charger Testing Device requires specialized laboratory equipment that can generate precise, NIST-traceable electrical signals to verify the device’s measurement accuracy across its entire range.
Q: My device has an IP54 rating. Does that mean I can wash it under a tap?
A: Absolutely not. IP54 means it is protected against dust splashes and light water spray. Submerging it or using high-pressure water will force moisture past the seals and destroy the internal electronics of your EV Charger Testing Device.
Q: What should I do if my tester gets wet inside?
A: Immediately remove the batteries or power it off. Do not attempt to “test” if it still works. Place it in a warm, dry area with airflow for at least 48 hours. If the water was salt water or dirty, it should be inspected by a professional service center to prevent long-term corrosion.
Q: Why is my EV Charger Testing Device showing a "Communication Error" even on a new charger?
A: This is often caused by debris inside the CP (Control Pilot) pin hole on the tester’s connector. Even a tiny piece of plastic or lint can prevent the “handshake” signal from reaching the device’s processor.